Sausage rolls are a beloved classic in many households, offering a delicious combination of flaky pastry and savory sausage filling. Whether enjoyed as a snack, appetizer, or part of a meal, sausage rolls have a timeless appeal that spans generations. In this comprehensive guide, we’ll explore everything you need to know about making and enjoying sausage rolls, from ingredients and preparation to serving suggestions and more.
Ingredients:
For the Pastry:
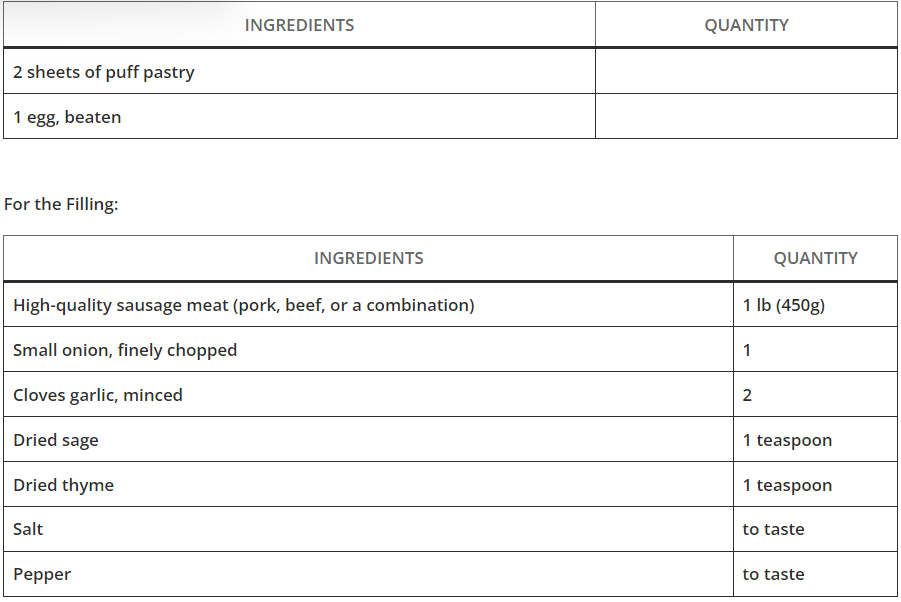
Instructions:
Step 1: Preparing the Filling
- Preheat Oven: Preheat your oven to 400°F (200°C) and line a baking sheet with parchment paper.
- Mix Ingredients: In a mixing bowl, combine the sausage meat, chopped onion, minced garlic, dried sage, dried thyme, salt, and pepper. Mix until well incorporated.
Step 2: Assembling the Sausage Rolls
- Roll Out Pastry: Roll out the puff pastry sheets on a lightly floured surface into rectangles, approximately 12×6 inches each.
- Add Filling: Divide the sausage mixture evenly between the two pastry sheets, forming a long sausage shape along one edge of each pastry rectangle.
- Roll and Seal: Roll the pastry over the sausage meat, enclosing it completely, and press the seam to seal. Trim any excess pastry if necessary.
- Cut and Arrange: Cut each roll into smaller pieces, about 2 inches in length, and place them seam side down on the prepared baking sheet.
Step 3: Baking the Sausage Rolls
- Apply Egg Wash: Brush the tops of the sausage rolls with beaten egg wash for a golden finish.
- Bake: Bake in the preheated oven for 20-25 minutes, or until the pastry is puffed and golden brown, and the sausage is cooked through.
- Cool and Serve: Once baked, transfer the sausage rolls to a wire rack to cool slightly before serving.
7 Haircuts That’ll Flatter Your Face Shape and Emphasize Your Unique Facial Features
Small eyes are considered to be attractive, round faces give us a youthful look, and people with big ears are adorable, just look at Anne Hathaway! There are so many unique features out there that give us our own special charm.
Some people, however, want to fix these things anyway. That’s their choice, but we hope they keep in mind that they can actually do it without surgery. All they need to do is change their hairstyle.
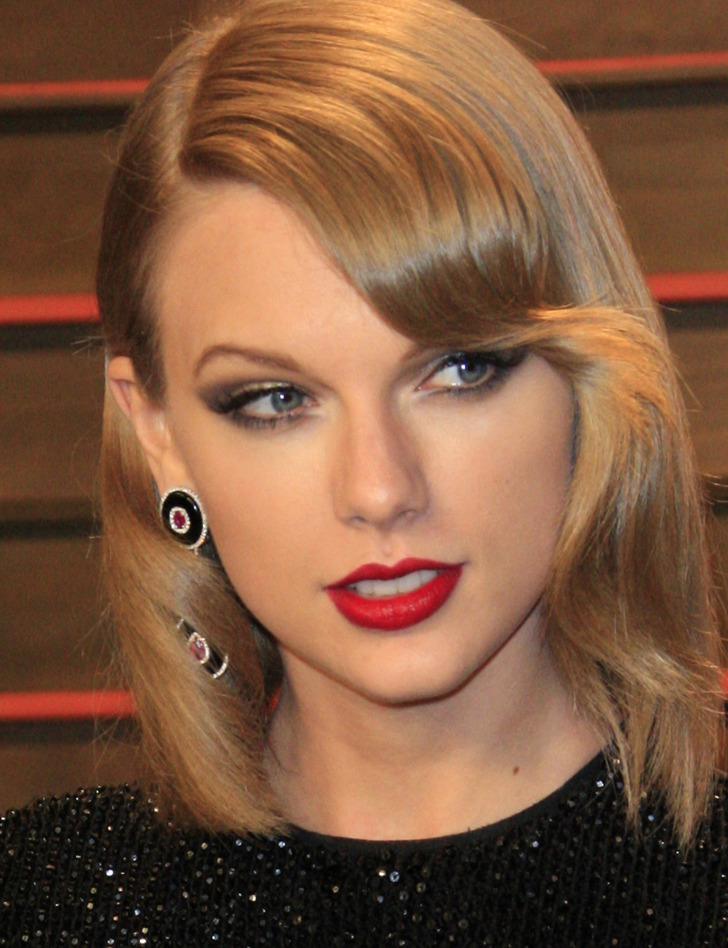
1. Double chin
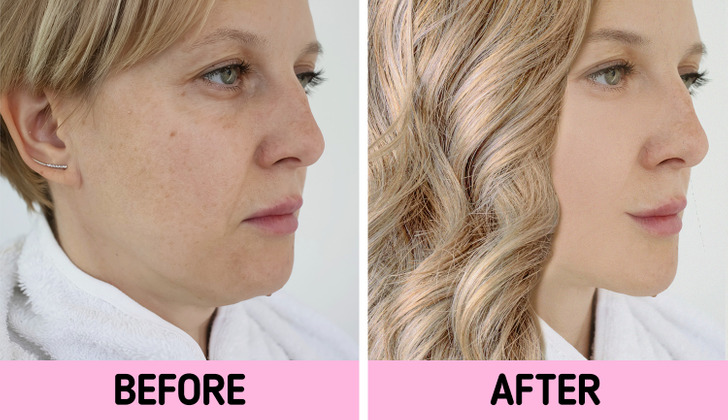
Cropped haircuts are a big no-no if you have a double chin. Instead, go for bangs and curls, layered, or face-framing haircuts. This way, you’ll draw attention to your hair and not your chin.
Remember that having layers is the trick. They add volume and give the illusion of a narrow face. For short haircut lovers out there, opt for a layered chin-length bob cut, but make sure to keep the ends unevenly cut.
2. Big nose
Choose hairstyles that widen your face so that your nose looks smaller. Different types of bangs do a great job: side-swept, curtain, or layered. You can do your hair up in a messy bun or a ponytail, letting a few strands fall on your head. Try to stay away from short and straight cuts.
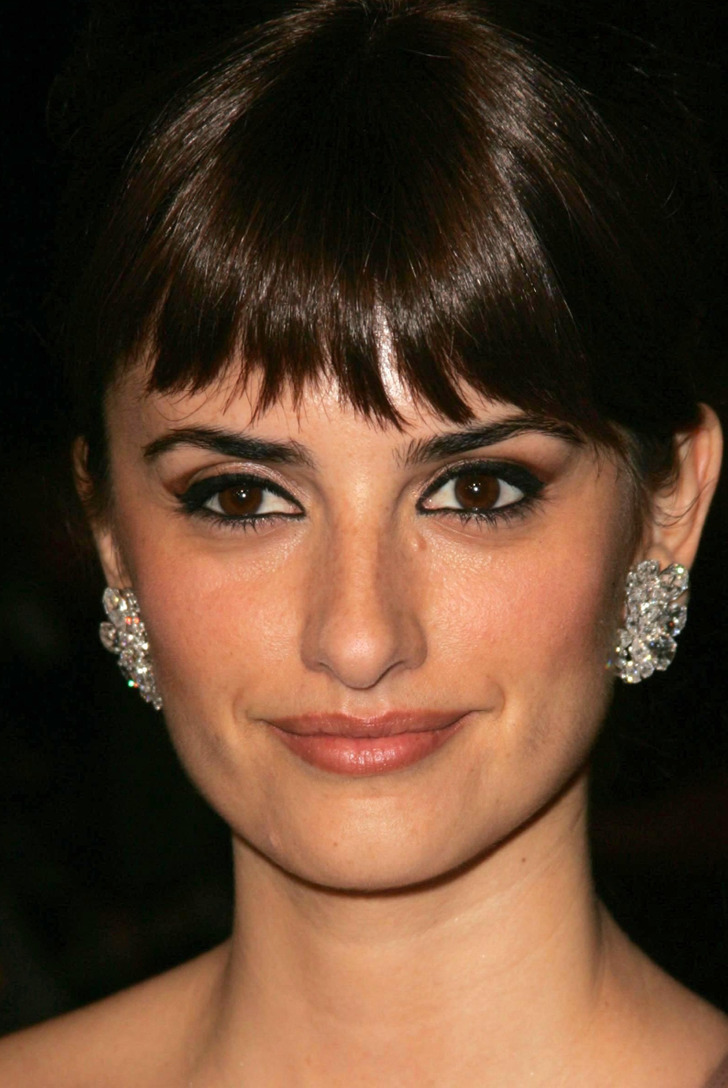
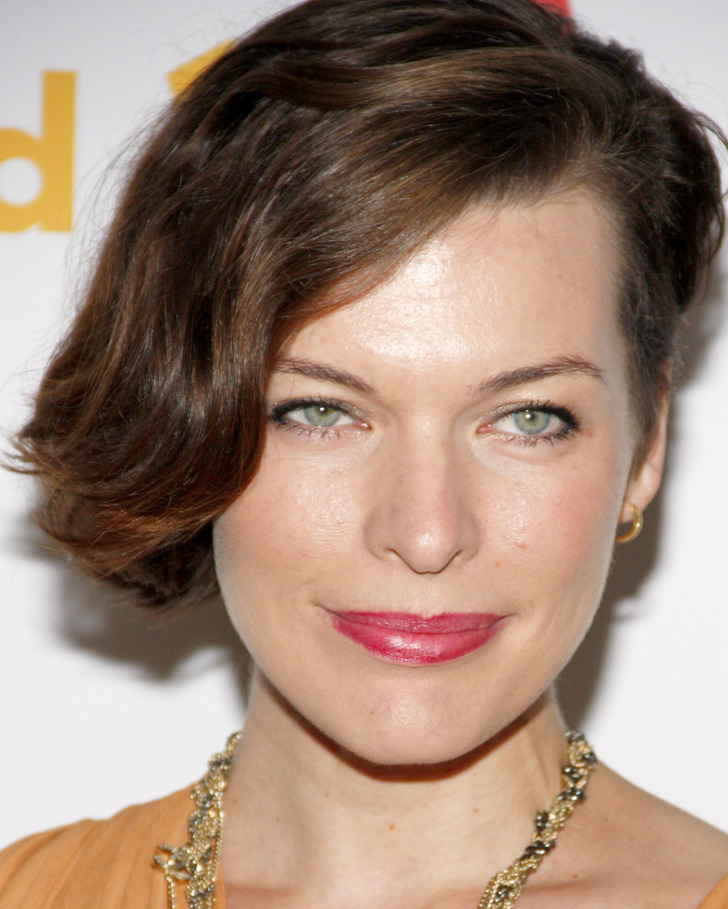
3. Big forehead
Bobs with bangs, long or short hair with a central part, or razored bangs look great on people with big foreheads. According to a stylist, horizontal framing, lots of volume, and soft layers are the keys to balancing it all out.
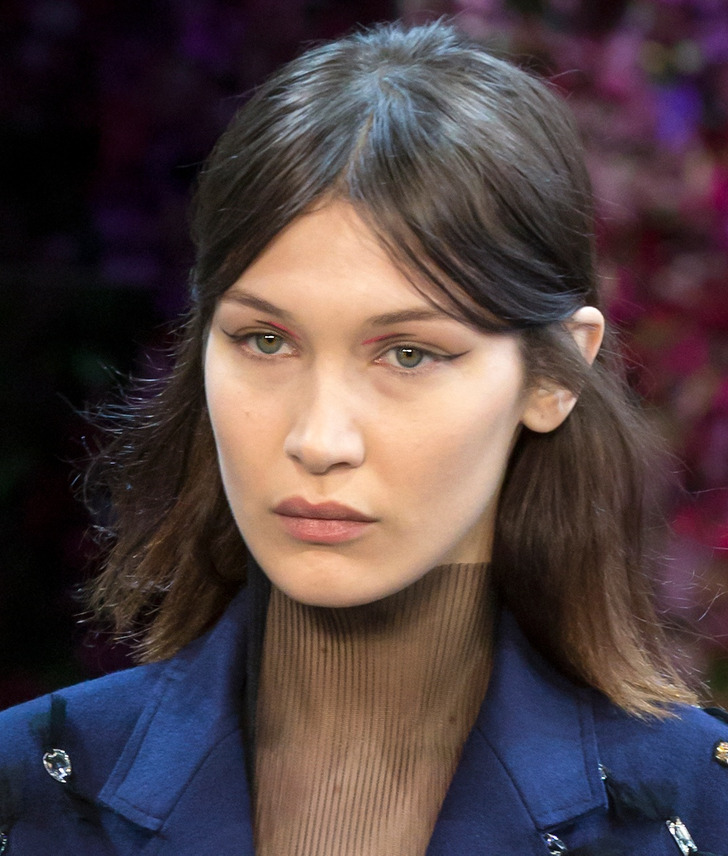
4. Small eyes
Avoid blunt and thick haircuts and focus instead on short hairstyles or low-volume cuts. Bangs are okay, but as long as they don’t cover your eyes and forehead completely. Pixie haircuts accentuate eyes, especially if your eyebrows can be seen well.
5. Round face
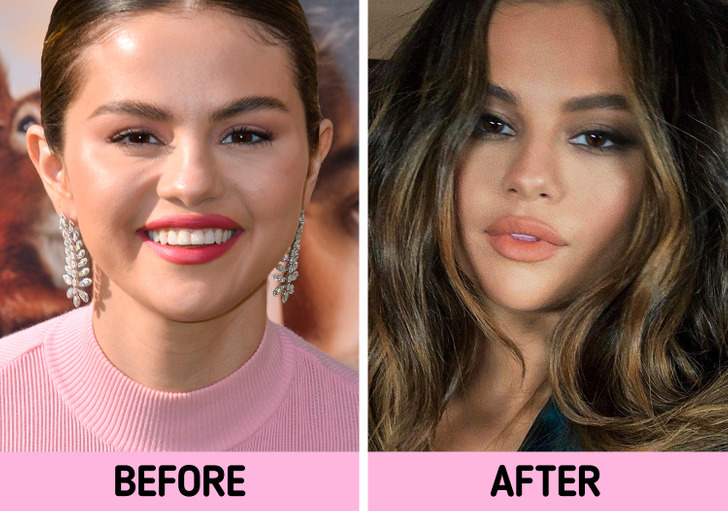
Those who want to make their face appear more oval should definitely go for a shaggy wavy bob or face-framing balayage highlights. You can also add more volume on top and leave elongated locks by the sides. Stay away from sleek hairstyles and thick bangs, since horizontal lines will widen your face.
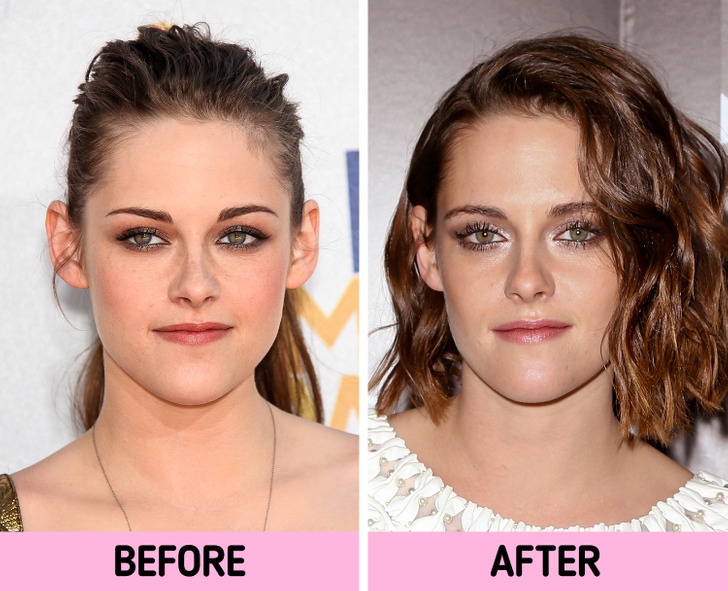
6. Oblong face
People with thin faces have more prominent noses, chins, and necks, and some haircuts can make their faces look even longer. Straight and long hair is a no, while hairstyles that add lots of volume are always welcome. Try a parted shaggy lob, an asymmetrical choppy lob, wispy-layered long hair, or a long wavy center-parted hairstyle.
7. Big ears
It’s not hard to cover ears, yet, it might be challenging to choose only one haircut out of all this diversity. Make sure there’s enough volume and fullness at the sides of your head, and let the hair stand away from the scalp a little bit. Bob haircuts or long and layered hair are a great choice.
How long have you had your current haircut? How easy is it for you to change it?
Preview photo credit TanyaLovus / Shutterstock.com, Valeriia Kogan / Unsplash.com


Leave a Reply